On Sunday we made some progress on the transducers as well as the fish.
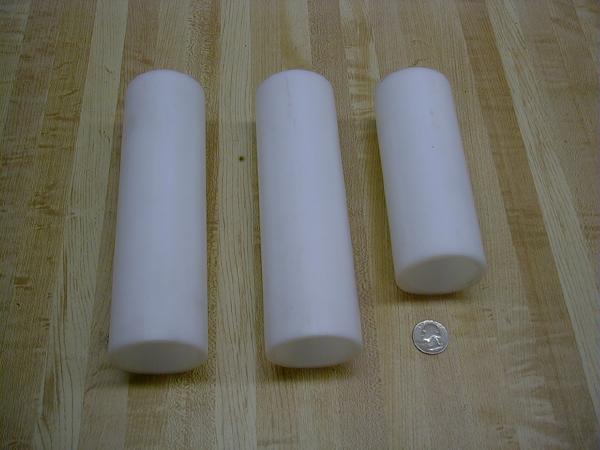
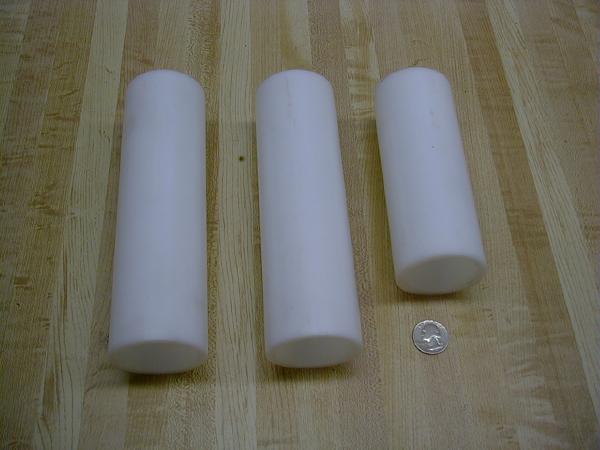
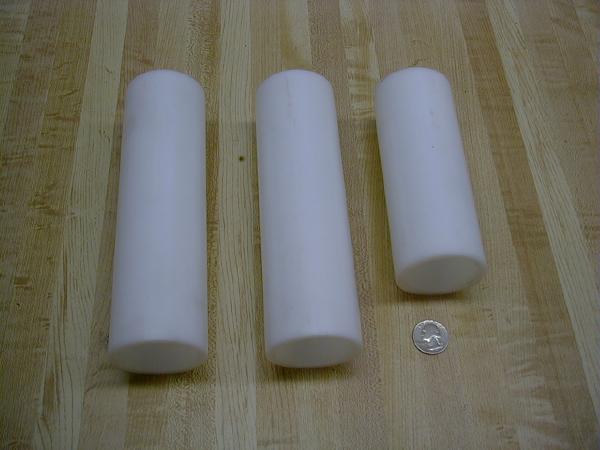
The 3 sections of the fish (tow - 8"; transducer array - 8", and fin - 6") were cut. The best cuts are obtained by using a chop saw. All sections are made of 2 & 3/8" white delrin.
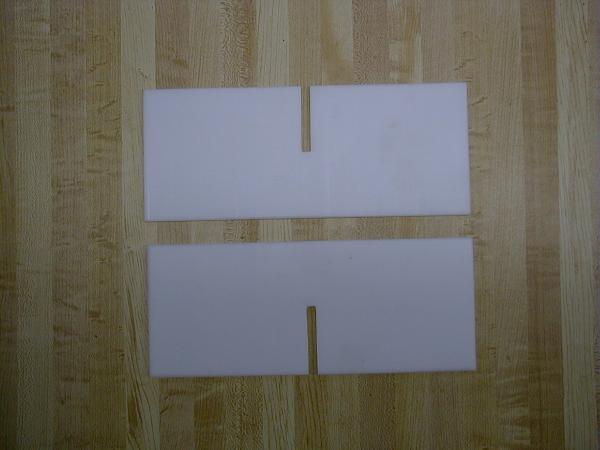
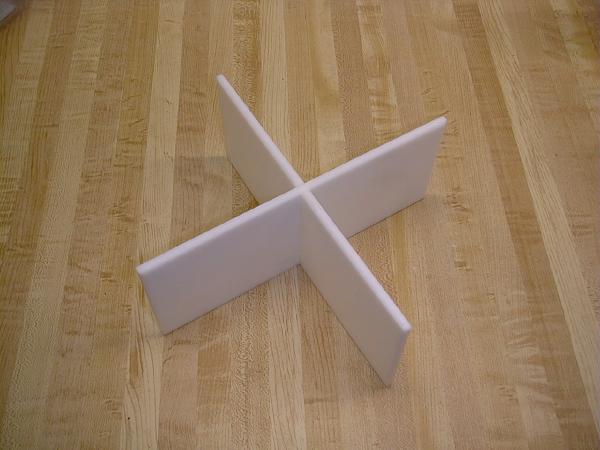
The wings are made of 1/4" white delrin and are 4" x 10" (2 sections are required). They were cut using a table saw. The two sections are cut in the middle to allow the two sections to slide into each other creating 4 wings.
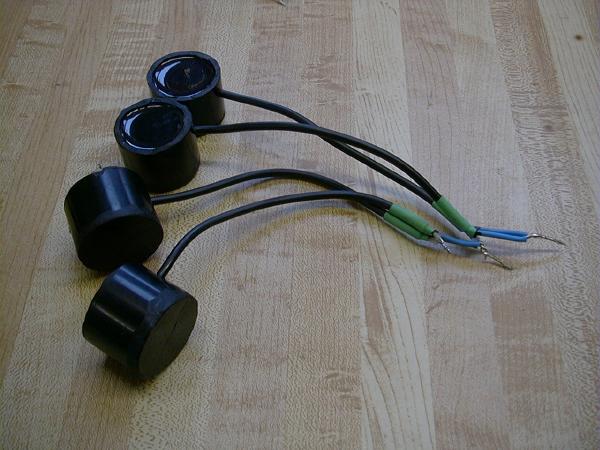
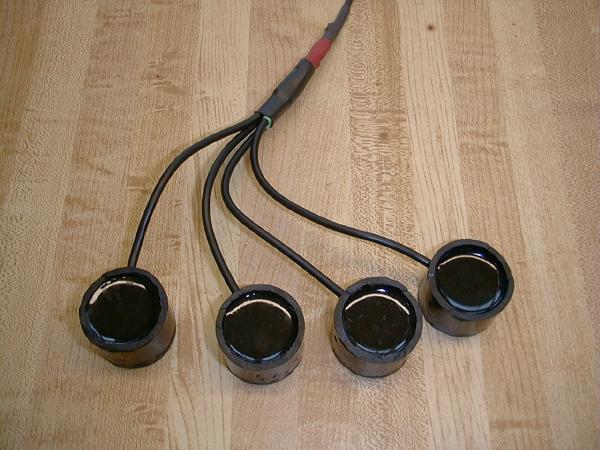
The transducers (after testing) were wired together and soldered; all exposed leads were coated with liquid electrical tape; and the wires were then grouped together using shrink tubing. The transducers were then glued together in an array using clear PVC solvent and glue. Per Dan's instructions, we glued them on a flat surface (bottom of tranducer down) and we also placed the sides against another flat surface. Rather than holding them together while they dried, I used some elastic shock cord (parachute cord) and tied them around the sides against a straigt edge (actually it was an exacto kit box (you'll see it in the photo). It worked great!!!!
We could not locate any underwater connectors, but found an aluminum locking connector (male and female) used on airplanes. Dan used a trailer connector, but I preferred something a little more robust and something that locked the cable together. Unfortantely, the cost was more ... $40.
Dan's design called for 14 or 16 gauge aluminum, we went with the 1/4" delrin which is much, much stronger ... and much, much more $$$. This will allow us to use one piece of tubing rather than two (outer and inner) per Dan's original design. We are going to have the tail section cut on a table saw this week and verify the need for only one piece of tubing on the tail section.
Over the next week, I hope to have the Delrin nose cone and fish section connectors trimmed to size on a lathe. Dan used PVC piping rather than Delrin and by doing so was able to use smaller PVC pipe for the section connectors (glued togther). We opted to put some solid Delrin round stock on a lathe so that if one of the pieces became damaged, we could simply replace the damaged section with a spare. Out sections will use flush nuts/bolts as opposed to glue.
I took some photos of the transducer wiring, the fins and the fish sections (prior to any cutting). If anyone is interested in seeing them, let me know and I'll try to post them. Presently, they are BIG files and I have to figure out how to reduce them.
I asked Garrett to join the list and do a write up on how he tested the transducers since he used a method completely differnt than Dan's. I should note that not everyone will have access to an O-Scope which is needed for this test.
So far, so good. Going quicker than expected and no screw-ups.
Patrick

Comment